

Mastering is the final step in music production. It is a process of improving the quality of the sound of your song with a set of tools such as equalizer, compressor and limiter. It is also preparing for a song suitable means. After masterizar, your song must be ready to be heard by the public.
It should be borne in mind that mastering goes hand in hand with the mixture. The truth is that if the song is poorly mixed, or mastering will be done in amateurish way will not end well, it is included, it may be worse.
So before you start experimenting with mastering, you need to learn how to mix. Your song has to sound as good and balanced as possible before going to the mastering stage.
Tools masterizar
There is a wide range of VST plugins that can be used for mastering and even a lot of presets to get you started. I have to say though that really is not “push a button and ready” o “a setting that is good for all” for mastering. Each combination is different and that is why mastering tools should be adjusted according to the situation. It all depends on the audio material you have and what they want to achieve with masterización.
With all that said, Now I'll show you a method that uses a producer personally for USA masterizar their songs. This tutorial as a starting point and introducing a set of tools that can be used for this final process.
At the end of this tutorial you are also sharing the file FL Studio (Mixer) State in which I have established the chain FX plugin so you can start the mastering process immediately. Note that I adjusted the settings of one of his own songs, but you can start with it and modify it according to their own song.
Preparation of the song to master and get to work
There are actually two ways to master your songs in FL Studio: 1.) You can masterizar the song while you're mixing or 2) You can export the song to a WAV file, create a new empty project and import again. FL Studio and then masterizarla.
Personally, I like to keep mixing and mastering as separate projects, so I'm using the method 2. and this tutorial will focus on.
So here is the process step by step:
1. Export your mix to WAV
Before you export your mix, It is recommended to place the track mixer master volume level all-6.0dB -8.0dB. This is to avoid the appearance of clipping the exported WAV. Nevertheless, If you decide to use format 32 bits floating, you do not have to worry about trimming.
In addition, It is better not to use any compressor or limiter in the mixer main track when being exported.
Use the highest possible quality for representation. This is the configuration I'm using usually:

2. Create a new empty project in FL Studio and open your song on Edison
Cut unnecessary silence at the end or at the beginning of the song (where appropriate). Check the picture below:

3. Create a very short fade out at the end of the song (if required)
That's just to keep the song abruptly cut as there may be a queue of reverb or delay effect to continue repruciendose deque after the actual song is over. Check below:

4. Normalize the WAV file
Normalization increases the amplitude of the wave so that the pick is highest at the peak of 100% possible. This maximizes the volume without cuts. Save changes to a WAV file.
5. Create an empty project in FL Studio and mixed WAV import it to a playlist.

6. Load mastering plugins.
Open the mixer and add these supplements in the following order for the tracks of the master mixer FX:
Fruity Parametric EQ 2 for cutting unwanted frequencies.
Fruity Compresor to ensure that the dynamic range of the entire mixture is balanced so there are no major differences also among the quietest parts and stronger.
Fruity Compresor Multibanda to tune the volume level in the areas that are still too high or mixture (if so).
Fruity Parametric EQ 2 to boost frequencies.
Fruity Limiter to maximize the volume of the mixture of all.
basically, This set of plugins are sufficient to successfully master your song.
Now, a few words on the order of the plugins in the mixer: It might be a good idea to put the equalization used for cutting, before compression and equalization is used to boost, after compression. Why? Because equalization settings affect how some compression behaves. For example, If you drive some low frequencies before compression, its highest level rises and the compressor will probably react to these picks trying to mitigate.
Nevertheless, as always in audio production, It should not be too much to do and Don'ts: in some situations can be said exactly the effect that you are after, but in a situation of mastering standard, cutoff frequencies may be best be done before and after increasing compression ..
Below is a picture showing the chain of effects for mastering:

Now, for setting the first equalization:
7. Fruity Parametric EQ 2 for cutting.
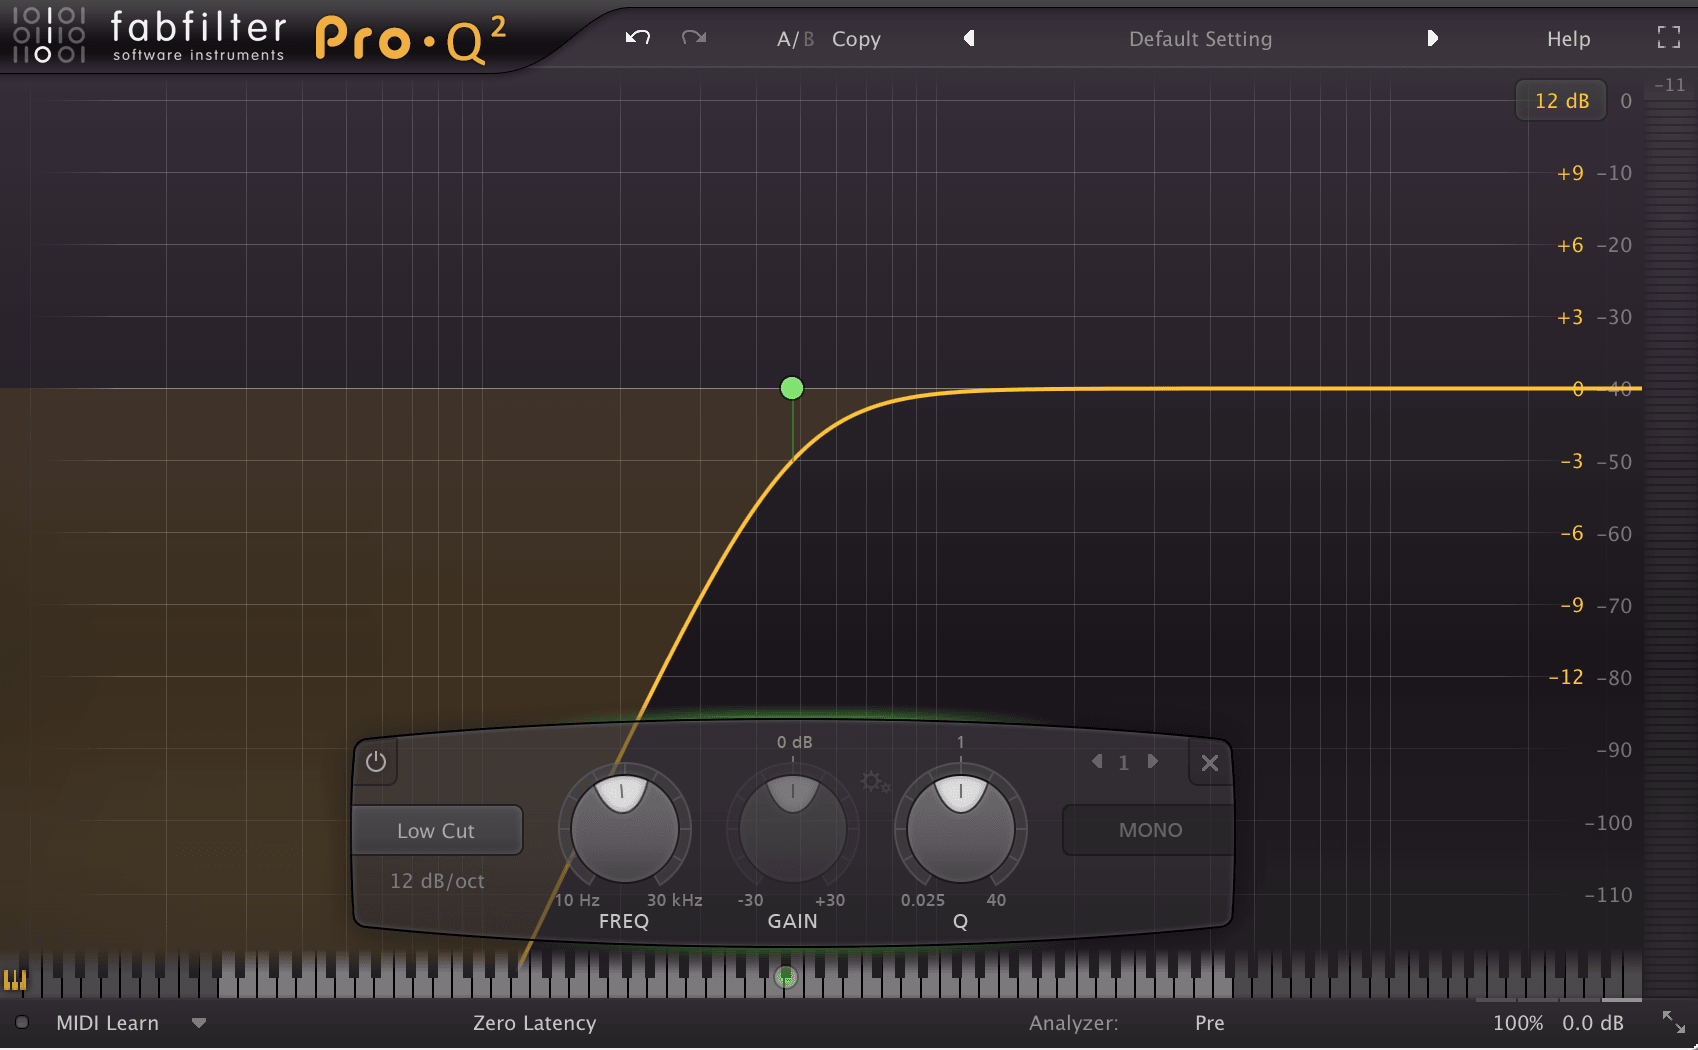
This is the equalization unit is in front of the compressors. It is used to cut the low frequencies around 30 Hz highpass filter with steep, and cut filter around 20 kHz lowpass filter. Those are the frequencies that can not be heard through most speaker systems, but just add the energy needed for mixing and makes the sound mix stronger (not in a good way) what really it is. It is as well that noise needs to be cleaned. Check below:

Note on low frequency cut : some manufacturers recommend to cut low frequencies from 20 Hz instead of 30 Hz. This is because if the song is played in clubs and large PA systems, with 30 Hz cut you can lose a lot of low-end response.
Nevertheless, you should know that almost all large PA systems are able to go down to 20 Hz, actually most out of 30-40Hz, so if the mixture has a lot of energy in the region 20 Hz, free space uselessly just waste. With this in mind, the establishment of the court of 30Hz will give you the opportunity to use the largest free space to adjust the mix and make it stronger.
In addition, remember this: If the PA system has been misconfigured, there is always a risk that sub-bass tracks heavy ??You can fly the system - although it's not your fault, still worth considering.
I have to say that I have personally found that reducing the range of 30 Hz rumble eliminates the unnecessary clarification of the mixture very well and gives more leeway, so that's why I'm recommending. But it really depends on you and what you're planning to do with his song. You may end up not using equalization cut across.
Note on cutting high frequency : If you fancy, They can also try to start rolling off the high frequency 16 kHz and to eliminate high transient more and distortion. Cutting high frequencies to 16k Hz help reduce the occurrence of ear pain in high-end large PA systems.
Now, Compressive.
8. Fruity Compressor
Fruity Compressor is a compressor and a single band is useful in the mastering of the FX chain night variations in dynamic range mixing. The compressor is ideal for “Geling” sounds different in mixing together - to adjust the mixture.
I'll explain the idea a little more compression:
basically, compression is a process to ensure that there is not much difference between the strongest and quietest parts. It's like automatically control the volume for the soft parts are stronger and stronger parties do not cause saturation. picks gain is reduced and you can set the level at which this reduction is happening and what is happening. It is much like a driver automatically adjust volume so that the volume level is kept at a defined minimum and maximum range. This is to make sure your sound mixing is dynamically balanced.
Here is the most common compression drivers:
Treshold sets the signal level (and dBs) where the compressor starts to occur,
Ratio establishes sets the amount of compression to be applied.
Attack controls how quickly time compression begins to affect.
Release sets how quickly the compression effect will stop after the signal falls below the defined threshold.
Knee determining what proportion the amount corresponding to the compression is applied. The decrease in the value of the Knee allows full compression to be applied more quickly - as it allows the attack. This is the most difficult of the knee. Increase the value of the knee becomes softer letting the lack of understanding softer.
Gain is used to increase the compressed signal by the compression greatly reduces the signal level.
A couple of tips using a single band compressor in the mastering of the situation: relative low use, attacks long release times results sound more transparent (transparent in this context means uncolored sound - maintaining sound as natural as possible). Transparency is needed to maintain the original atmosphere of the mixture.
Nevertheless, each song is different so it is impossible to give an exact configuration, but you can start experimenting with these:
Treshold: -25dB
Ratio: 1.5:1 - 02:01
Attack: 50 ms
Release: 150ms
Gain: 2.4 dB
If the mixture starts to sound too crushed, or unnatural, try reducing the proportion and experiment with different combinations of threshold / Ratio.
As a general rule, moderately compressor uses mastering to avoid crushing.

9. Fruity compresor multibanda.
Multiband Compressor is a great tool in mastering the FX mixer to tune the volume levels even more.
I will explain a bit multiband compressor: multiband compressor (Compressor as Fruity) It affects the frequency band, but the multiband compressor lets you apply compression to the frequency bands chosen - in this case, three different bands (low, medium and high). For each band can set the cutoff filter. That means you can define how often, areas affect the band compressors fr.
multiband compression is a very useful tool in the mastering, you can do so without affecting too much the medium and high frequencies and vice versa. For example, If you have any picks site high in the low frequency, You can attenuate these without reducing gain (Gain) Media and / or maximum.
basically, You can do this with an EQ also, but using the multiband compressor here, It will give you a little more transparency and organic results equalization. Of course, This depends on the plugins - some are more transparent than others. In addition, What kind of sound you're after defining the tool should be used. But with the plugins I'm using in this tutorial compressor, multiband may be the best choice for fixing the gain behavior.
Here is a brief introduction to the different parameters in Fruity Multiband Compressor. Check the photo below (click to see larger):

What adjustments would recommend using multiband compressor with Fruity? It is almost impossible to give any recommendations, since everything depends on what kind of mixture are mastering. You can start with these, Nevertheless, but the rest depends on you and your ears:
limiter: 0ff
Filter: FIRLOW BAND:
Threshold:-25.0dB
Ratio: 1,2:1
Knee: 0%
Attack: 3.3ms
Publication: 62ms
Gain:-1.6dBMID BAND:
Threshold:-9.0dB
Ratio: 1,8:1
Knee: 76%
Attack: 31ms
Publication: 56ms
Gain: 1.6dBHIGH BAND:
Threshold:-11.0dB
Ratio: 2.0:1
Knee: 76%
Attack: 3.6ms
Publication: 48MS
Gain: 2.7dB
Now, go with the momentum eq.
10. Fruity Parametric EQ 2 to impulse.
This is the equalization unit coming after compression. What I like to do at this time is slightly increasing frequencies around 8-15kHz pick filter with a bandwidth semi-wide. This will add some luster to the mixture of all.
The momentum that could have been done with a gain of the multiband compressor controls, So, but equalization is here even for precise control over the frequencies. As I mentioned in the previous section multiband compression, will give a slightly different result to the equalizer when it comes to the frequency setting.
Good, checks the photo below:

11. Fruity Limiter
Fruity Limiter is used to maximize the volume of the whole mixture undistorted. The purpose of a limiter in a situation of mastering is to limit the output level to a maximum level defined (0.0dB generalmente the) to avoid clipping when the gain is increasing.
I'll try to explain a little about how the limiter works:
Limiter is a close relative to the compressor. signal is restricted go above a treshold value, equal to the compressor. If you picks are trying to go above the threshold value, gain reduction will occur.
Nevertheless, in the compressor, gain reduction is applied in a smoother manner and also affects parts quieter signal, making them stronger, while the limiter (at least limiter Brick-Wall) the picks they are trying to go treshold value and leave the quietest picks. Reduction limiters and absolute gain is steeper than the compressors. That's the main difference.
A limiter, It is establishing the level above which the signal is limited by the ceiling outlet. As usual, It is called to 0.0dB. Now, when you start to increase the volume input gain, the limiter will crush all signal picks are trying to go above the 0.0dB. So the more you are trying to maximize the volume of your mix, crushed greater sound. Try to be nice here not to destroy their mix.
Some limiters as Fruity limiter has the attack and release control also. Attack controls how quickly the limiter responds to the signal picks. Release controls the speed of “recuperate” signal limitation.
Here are some of the most important adjustments introduced Fruity Limiter:

For the recommended configuration - it all depends on the mixture again - but you can start with these:
Celing (The ceiling): 0.0dB
Gain (Gain):-4.0dB 7.0dB
Saturation: 0.0dB
Attack: 4 ms
Release: 250ms
Attack curve: 3
Release Curve: 3
Ahead: 9ms
Experiment with the input gain, Be kind to her, to avoid crushing the mixture. You know you're getting too gain when the song begins to sound like stress or as if a great pressure. Try to find a balance between sonority as possible and not let the sound mix excessively crushed.
11. Export the song once again to WAV with maximum quality settings (We hope to establish quality WAV 16 bits).
That is all. With a set of tools possible how are you mastering a song in FL Studio.
I admit it, the mastering of this whole thing is not easy. Personally, I'm always struggling with it too. enough patience is needed and much trial and error. Nevertheless, Experimentation is the best way to learn.
Sometimes, in the mastering step, you may realize that you can not fix something with mastering tools. Then you may need to return to the mixing stage and there need adjustements.
Also remember this: using compression on the mastering is not necessary. If your song sounds good, uncompressed, then do not use. Not something that is required to make a sound mix. It is just to set the dynamic range. Actually, everything - either eq, compressor or limiter - It depends on the mix and type of sound you are looking. Stop and ask: Which is what I want? - and start from there.
Source: Howtomakeelectronicmusic.com


ke good tutorial mztering well eplikdo !ª!
Good post, pretty teaching, He helped me understand many things, now experience. for example working with cubase, I guess processes should be similar.
Cheers
Very good but I have a doubt, this method is suitable for a capella, or a finished song, I would like to know, thanks 😉
blessings would like to have the steps and examples for lamezcla but fl studies,If you can help me thanks
good Tuto has clarified many doubts me, keep in that way
Thank you so much for showing me a great way around this world so immense mastering,I served me much…thanks
I clarified several basic concepts that I ignored, good tutorial greetings!